Search This Blog
Featured Post
Bunny Love
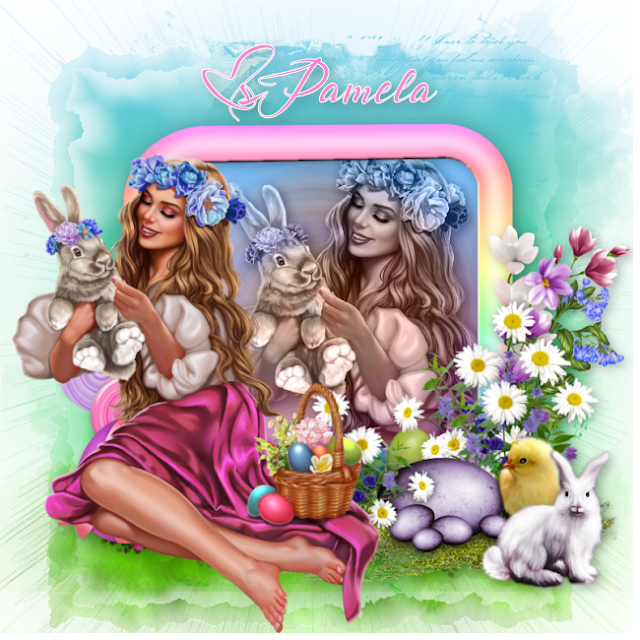
PTU Tutorial Supplies needed: Paint Shop Pro X or any version Spring_and_Easter by Alehandra Vanhek here (you must be licensed to use...
Popular Posts
-
FTU Tutorial The Book of Elias Supplies needed : Tube: I used Melissa 2 by Elias Chatzoudis here you need a license to use this art, Fr...
-
No Scrap Tutorial Curled and Whirled Supplies Needed: Tube of choice, I used Amberly Berendson, you can purchase at DAH Font of choice, I u...
-
FTU Tutorial Ice Cream, Cupcakes and Chocolate Supplies needed: Neopolitan Scrap kit by TKDezigns here Tube of choice, I used Fiodorova Ma...
-
No scrap tutorial Majestic Mermaid Items needed: PSP9 or any version DBV Mask 110 here Scenic photo of choice,I used Jon Rattenbury, you m...
-
FTU Tutorial With A Tender Heart Disclaimer: This tutorial was written by Pamela A. Mabry on January 11, 2022 with PSP 10, but any other ve...
-
FTU Animated Tutorial Turbulent Sea Tag Disclaimer: This tutorial was originally written August 12, 2012 and revised on January 14, 2022 fr...
-
PTU Tutorial Yellow's Glow! Supplies needed: Paint Shop Pro 2023 or any version Tube: Summer by Kiya's Designs here Mask: DBV...
-
No scrap tutorial Capsulated Tag This tutorial is written for those with a working knowledge of PSP. Disclaimer update: August 17, 2024, t...
-
FTU Tutorial BCA In Pink Supplies needed: Paint Shop Pro 2021 or any version Tube: I Believe by Zindy S. D. Nielsen here Becky Mask...
-
No scrap tutorial Fairy Glass Banner Supplies needed: Tube of choice I used Judy Mastrangelo this is a licensed tag and can be purchased F...
About Me

- P Mabry
- I've been working with PSP since 2004 and I love creating tags, stationery, cluster frames, scrap kits and templates.I also enjoy my children, grandchildren, reading, music and movies.
Followers
Thursday, September 16, 2021
3:01 PM | Edit Post
No scrap tutorial
Capsulated Tag
This tutorial is written for those with a working knowledge of PSP.
Disclaimer update: August 17, 2024, the store I purchased this tube from has since closed. This tutorial provides you with the current link adjustment, if you don't have a license please go here to acquire one.
Supplies needed
PSP 9 or any version
Tube: Elias Chatzoudis you can purchase at Here
Font Affair1 you can get it at here
A scenic image of your choice
A background image of choice, I used a gazebo
A background image of choice, I used a gazebo
Muras Meister Copies Filter Plugin free get here Here
Bordermania Plugin Filter free get it here here
Let's begin !
Open a 700 x250 image
Open your tube and choose 2 colors from it, a medium color for foreground and a dark for background
Copy tube and paste as a new layer
Effects - plugins - Muras Meister - Copies
Adjust - blur - radial blur
Layers - merge - merge visible
Effects - distortion effects - warp
Click your selection tool, then choose custom select
settings:
Hit your delete key - then deselect
Layers duplicate - image - mirror - merge visible - select all- new raster layer
Copy your scenic image and paste into selection and move it to the top
Effects - plugins - Flaming Pear - Aetherize
Lower opacity to 60
Copy the gazebo tube and paste as a new layer and resize it to fit
Effects - plugins - Flaming Pear - Aetherize
Copy and paste your tube as a new layer, resize if needed
Add a drop shadow of your choice
Effects - plugins - Bordermania - Capsule
Add artist name, copyright and URL, your license number and your text.
Merge layers visible - select all - float - defloat
Selections - modify - select selection borders
New layer and fill with color of your choice
Merge layers visible.
You're Done !
Hope you enjoyed my tutorial.
Other variations of this tag
Labels:animated,Elias Chatzoudis,no scrap,tutorial
Subscribe to:
Post Comments
(Atom)
Labels
- 4th of July
- 70's
- aetherize
- Alehandra Vanhek
- Alena Lazareva
- Alex Prihodko
- Alicat Art
- Amberly Berendson
- AngelWingScraps
- animated
- art
- artist
- Autumn
- Awareness
- AWS Scraps
- BCA
- beach
- BellaCaribena
- Blissful Designs
- BTS
- Charlie
- Christmas
- CTTutorial
- Deedles N Doodles
- DeedlesNDoodles
- Designs by Shelly
- domestic violence
- DVA
- Easter
- Easter. FTU tutorial
- Elias Chatzoudis
- Eugene Rhevskii
- fairies
- fairy
- Fall
- fantasy
- Fiodorova Maria
- FiodorovaMaria
- flood
- FTU
- FTU Tutorial
- fun
- GOF
- Goldwasser
- Hania's Designs
- Ismael Rac
- Judy Mastrangelo
- Keith Garvey
- KennyK
- Kiya Designs
- Kiya's Designs
- Lady Mishka
- Laguna
- Lix
- Mardi Gras
- Maryline Cazenave
- Melissaz Creationz
- mermaid
- Misticheskaya
- mistified
- Mizteeque
- no scrap
- patriotic
- PFD
- Pin-Up Toons
- pink
- princess
- PTU
- PTU tutorial
- Rachel Anderson
- sea
- Sherri Baldy
- Simone
- Sophisticat Simone
- Souldesigner
- spring
- St. Patrick's Day
- St> Patrick's Day
- steampunk
- StellaFeliceArt
- Tamara SV
- The Paper Shelter
- Tiny Turtle Designs
- Tony Tzanoukakis
- Toosh Toosh
- turbulent
- tutorial
- UeniquePSP
- Valentines Day
- Very many
- white
- Zindy
Blog Archive
-
▼
2021
(41)
-
▼
September
(39)
- Blissful Autumn
- BCA In Pink
- BCA Survivor
- Stop The Violence
- Still Gorgeous!
- Mistified Fairy Land
- Artist Studio
- Dream State
- The Book of Elias
- Fairy Glass Banner
- Capsulated Tag
- Attention Class Dismissed
- Substitute Teacher
- You 2 Can Win
- Christmas Time
- Forget Me Not
- Blinking Blinky Babies
- Majestic Mermaid
- Aetherized Mermaid
- Curled and Whirled
- The Pink Star Squad
- Angelic Rest
- Fairy In The Shoe
- Oh So Cherry
- My Secret Garden
- Drama Queen
- Jungle Magic
- Wonderland
- To My Hearts Desires
- Be My Valentine 2014
- GROOVY!
- St. Paddy's Day
- Door To Your Dreams
- Summer Beach Fun
- Time Stands Still
- To Be A Princess
- Blissful Christmas
- Fairy So Purple
- Believe !
-
▼
September
(39)
Miggin's Extended CU4CU License
Denise Creationz Unlimited Use License
Denise Creationz CU4CU License
KPD Unlimited Use CU4CU License

Scraps Dimensions CU4CU Lifetime License
LMB CU4CU License
JDD Unlimited Personal Use License
JDD CU4CU License


0 comments:
Post a Comment